Desmaison (Gousseault) on the north face of Grandes Jorasses is described as one of the finest mixed climbs in The french Alps. On 11-14 of October 2017 we do this route and here you have a description of Desmaison. Like they say in the guidebook: “Go for it, before you become an old fart”... ;-).
"When I think of the Grandes Jorasses, I think real class
When I think of good conditions on the north face, I think those who are not there are missing out
When I think of all those routese, I think I still have loads to do
When I think of the Desmaison, I think- Go for it, before you become an old fart...."
Chroistophe Moulin
Grade: ED2 VI 6a A1/A2, 1200m
Length: 1200 m (33-36 pitches). We have 33.
Time: 2-4 days.
Localization: North Face of Grandes Jorasses / Chamonix (France)
Character: snow/ice ramps 50-85 degrees, corners chimneys, mixt,
First ascent: 1973 10-17 February - René Desmaison, Giorgio Gertone, and Michele Clareta
First free ascent: 2007, October - Guy Robertson and Pete Benson
Climbing on the north face of Grandes Jorasses isn’t easy. This is one of the wildest places in Mont Blanc massif. After you climb north face you have complicated (and dangerous) descent on the south side of Grandes Jorasses.
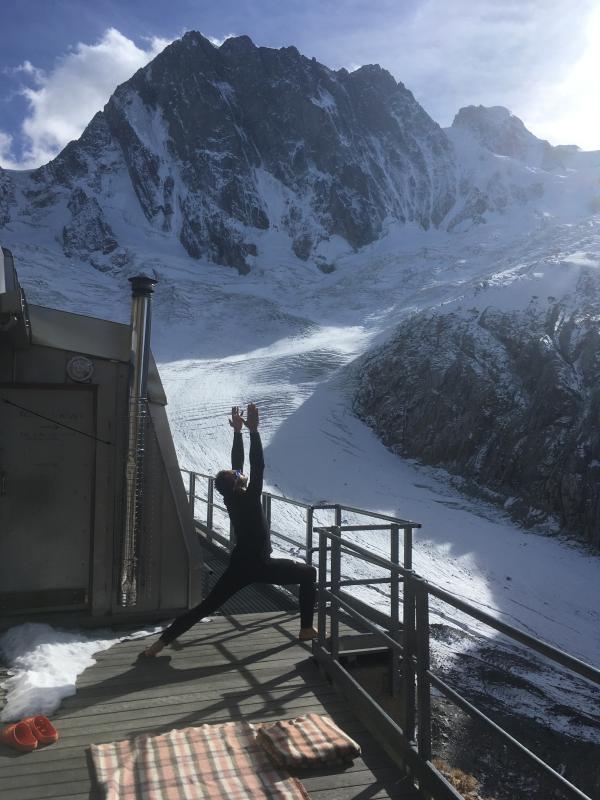
Lescheaux hut. Photo Damian Granowski
Approach
The best way is to train to Montenvers (from Chamonix). You go to Mer de Glace and approach ~4 hours to mountain hut Leschaux, where is good to stay for a night.
From there you have 3-4 hours to the base of the north face of Grandes Jorasses.

Approach to the base of the north face. Photo Tomasz Klimczak
Climbing
Best time for climbing this route is autumn, winter, and early spring. You can do this route in any conditions, but… I recommended that do this route in good conditions :). On route, you will find a lot of rotten rock, and a few big boulders, which can fall with you (especially if they will be not frozen).
Best is if easy terrain on Ramps is covered in consolidated snow and ice. Perfect conditions were for that purpose were in 2014 (very rare) and some teams do Desmaison in 2 days.
We have poor conditions (but good weather) and need 4 days to complete Desmaison. The hardest pitches were this easiest :-). Sometimes you can find a rotten rock, covered by snow. A lot of time takes in this conditions to find holds and solid place for protection. In good conditions, you probably run at this “easy” places.
Another problem was bivi places, which are VERY poor if there is not so many snow. All our bivouacs were in sitting position. Check fresh foto of the wall and search for ice on ramps :-). Hardest pitches (with M-grade) are usually possible to climb even if they are dry. We don’t have problems with them.
Desmaison (Gousseault) has some start variation:
Originally (1971 and 1973 year) Desmaison started on an overhanging wall between the gully of The Shroud and Ramp I.
Now you can start also: October 2000 start (250 m by The Schrund and go to the top of Ramp I), January 2000 (Start at gully on the right of The Shroud and go to chimney), Colton-Smith (most logical if the start of this route is covered in ice). All the starts to the Desmaison lead to the top of Ramp I.
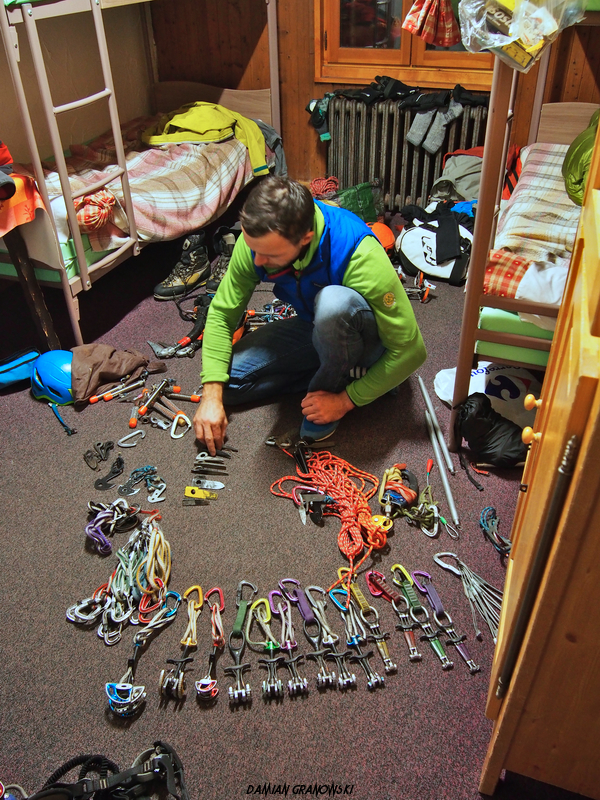
Gear
We choose:
- double rope 50 m
- one set of friend to #3 (purple and green doubled). Plus set of microfriends
- 8 ice screw (mostly short)
- set of 11 nuts
- set of pitons (especially 2-3 knifeblades, 3 "Jedynka") + hammer
- 12 quickdraws (include 8 alpine)
- couple of slings 120 cm and 12 meter of cord
- Jumar and microtraxion
Food (for one day)
- 200 grams of nuts,
- 100 grams of dried fruits
- one portion of liofilizated food
- one light liof for team on breakfast
- soup (one for team)
- 2 tables of izotonic
- some individual sweeties
My clothes and personal gear
-2 pair of Smartwool socks
- shoes with inner boots. My were TNF Verto S6k Extreme.
- underwear clothes
- t-shirt
- hoodie Cortina Montano
- El Cap Montano Softshell
- down jacket Yeti Wave
- 3 pair of gloves (Monkey's Grip Power Load and Dt. Plus one very light for operation on bivoaucs)
- cap and shawl
- sunglasses
- Ct Ascent harness
- Ct Orion helmet
- Fixe Frog Belay Device
- 3 CT hms
- one CT hammer
- 2 Nomics
- Simond Vampire crampons
- 2 cords
Bivvy gear
- one windboil 1l
- 500 gram of winter gas
- sleeping bag
- bivy bag
- carrimat
After reconnaissance, we choose January 2000 start.
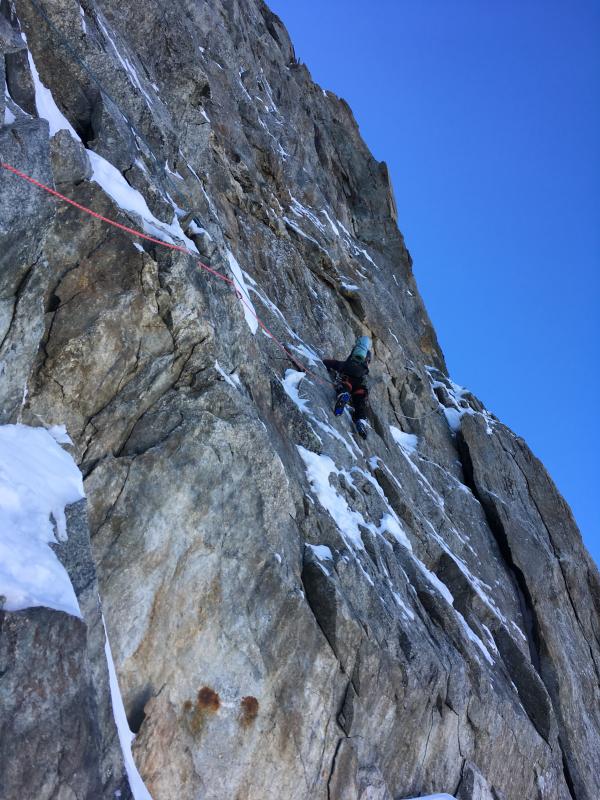
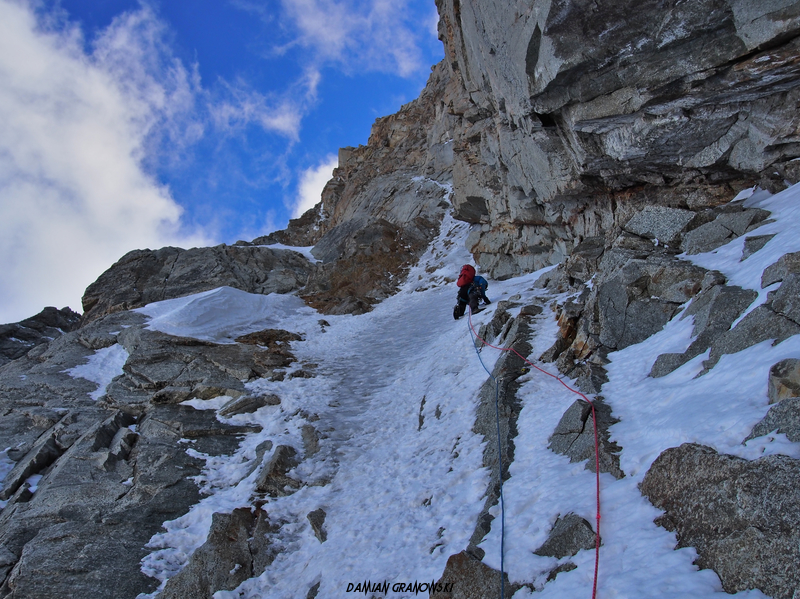
We climb ~60 meters in quite good ice. Next, we climb mixt M5 pitch which ends at the base of the chimney M5+. Prepare for war if there is no conditions in chimney :-].
Tomek at the beginning of chimney pitch
After chimney pitch move to the right to the easier-angled mixed ground to the foot of a rock step (top of Ramp I). On this step, you will find 2 pitches. First is 5c/M6, with traverse (old poor fixed ropes) to a small flake. Secon M5 to the top of Ramp I.
M6 pitch to the top of Ramp I. Photo Tomasz Klimczak
Second pitch. Photo Tomasz Klimczak
In this area (2-3 easier pitches) we have the first bivouac.
Morning of second day
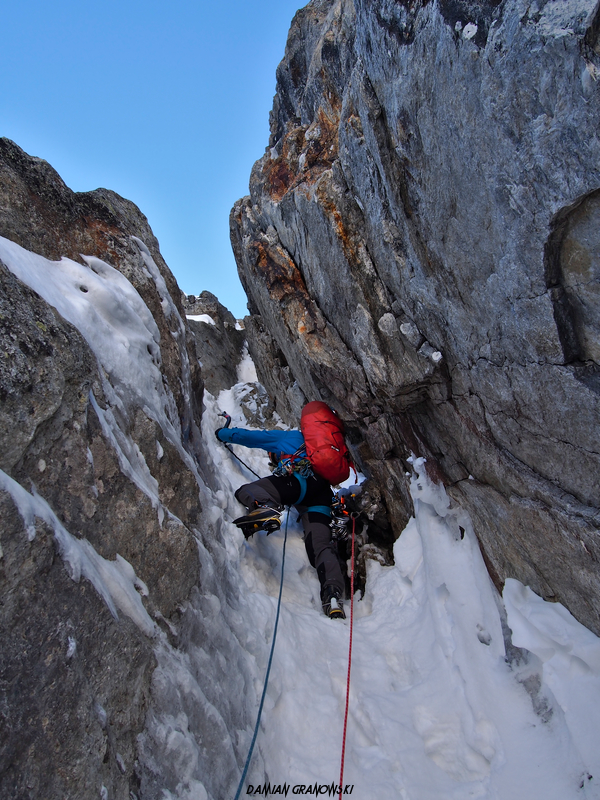
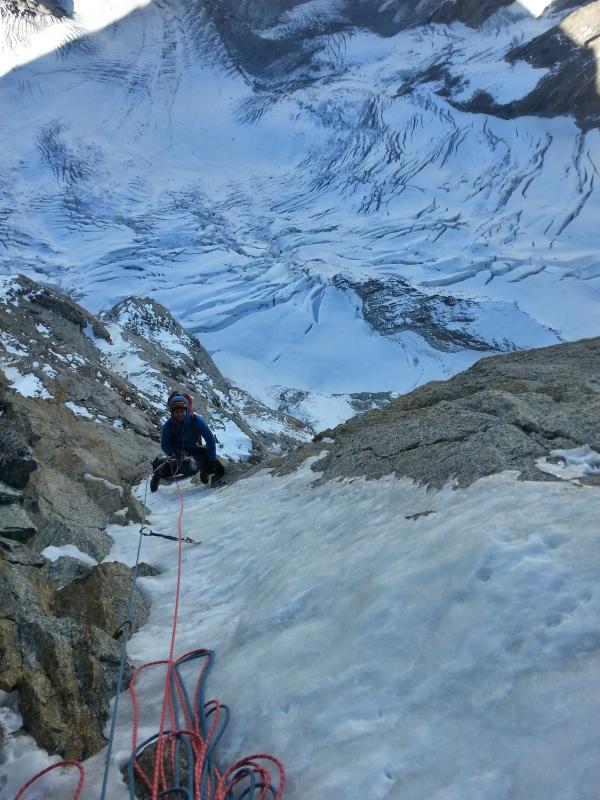
After that, you go to start of Ramp II. From here you climb 50 m rock wall (right to the chimney and after to the left). Next 80 meters of easier terrain (M4, 80°. We have some nice ice and later poor rotten rock covered in snow), which ends at the base of Ramp III.
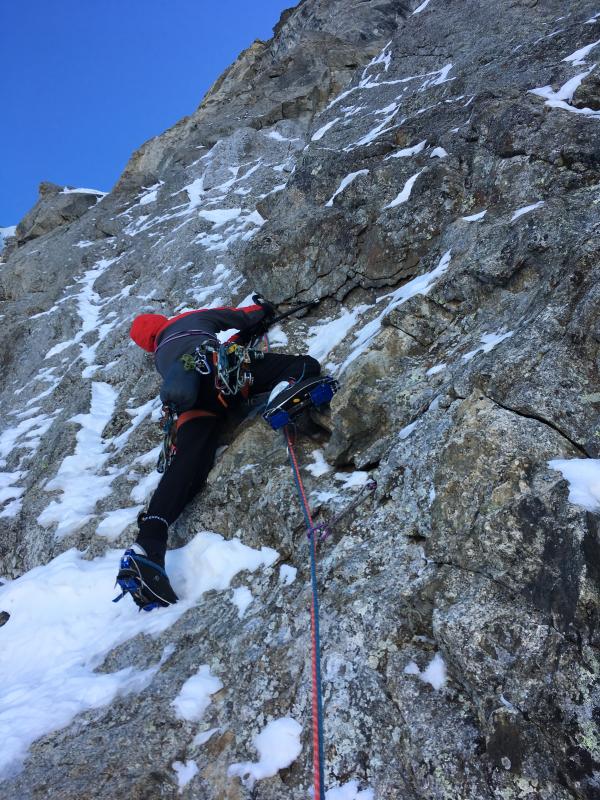
You will find there 60 meters of 6a/M7 mixed terrain (or A1). Tomek aid last part and move out to “excellent bivvy site”, which was not so excellent :-). But in better conditions should be better.
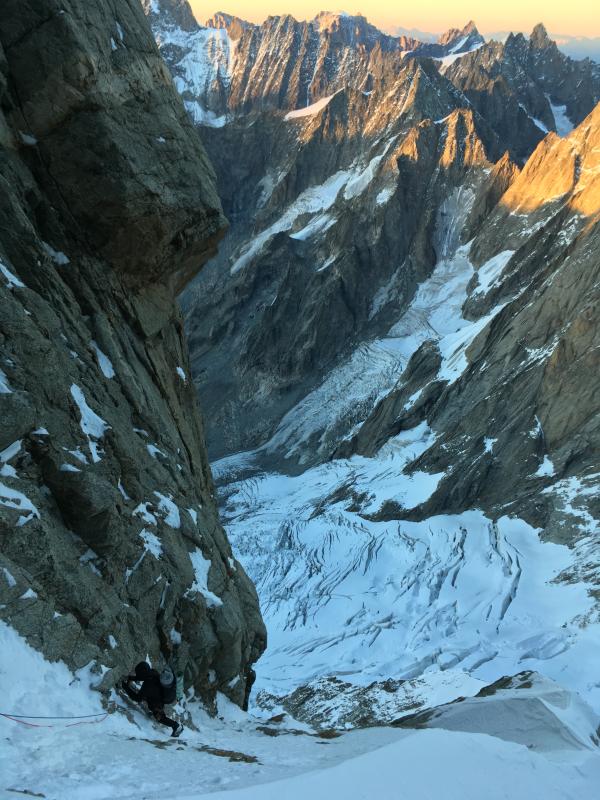
Tomek heading for this hard pitch (lower crux). Photo Damian Granowski
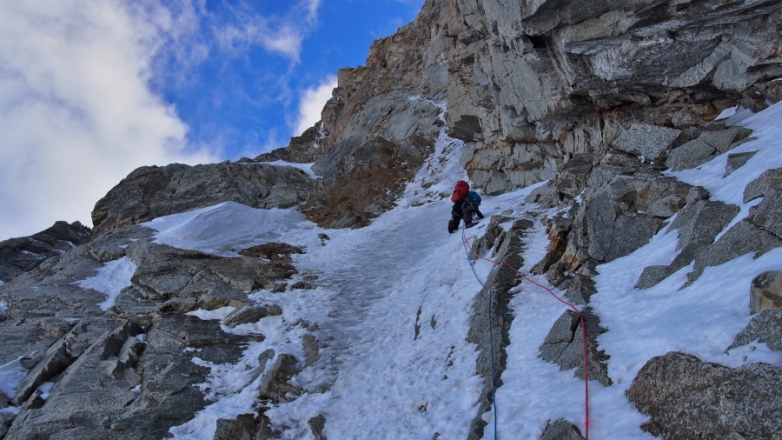
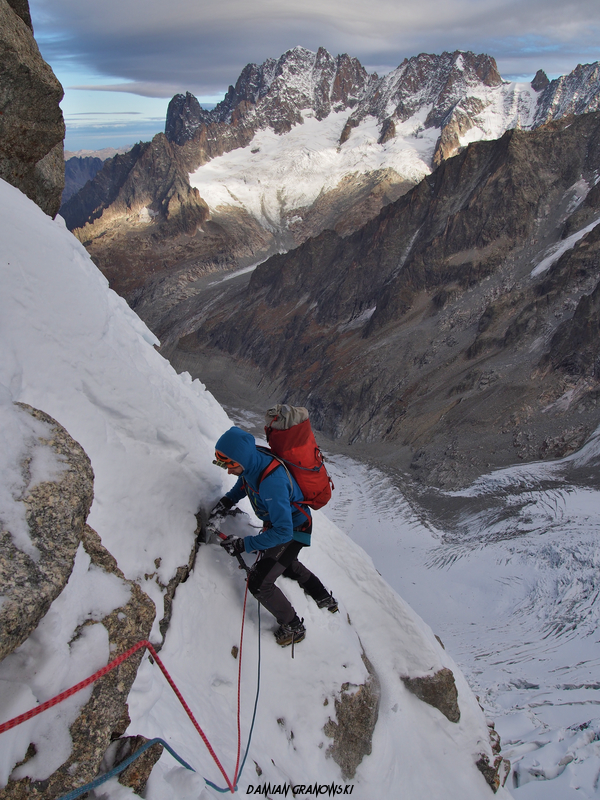
From here you have 300 meters of easier climbing in ice (section 80-85° thin ice). If there will be not so many ice then prepare for battle in corners with loose rock. Ramp III goes to the foot of headwall, where are connections to other routes. At the base of headwall we have another bivvy site, but if you have time, then try one more pitch of headwall and you probably find a better place, with a sun at dawn :-).
III Ramp. Photo Damian Granowski
At the base of headwall. Photo Tomasz Klimczak
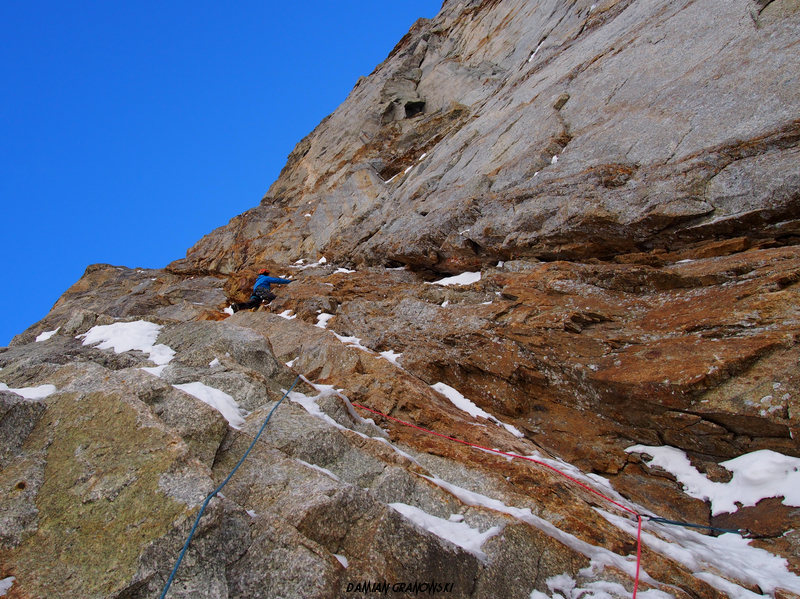
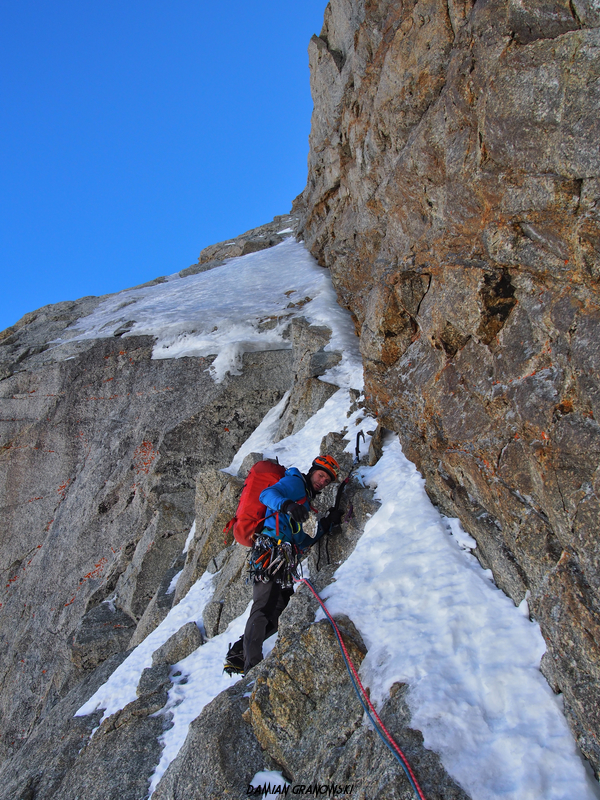
Headwall consists some nice mixt pitches. First is 50 m of climbing in cracks at grade M5. Second is M5+, which goes diagonally (to the right) in solid red rock to the base of the chimney.
We climb 40m in - not so good - rock, climb chimney (M5, some old fixed ropes - abandoned during a Korean attempt. After you climb chimney go to the right (poor rock, and loose blocks) below monolithic step.
Crux pitch (M6 or 5c A1) of headwall is before you. Climb the wide crack (hand traverse) and after this go to left (don’t go to pegged crack on the right!). Climb to the corner (maybe you must take off gloves) and go to ice smear.
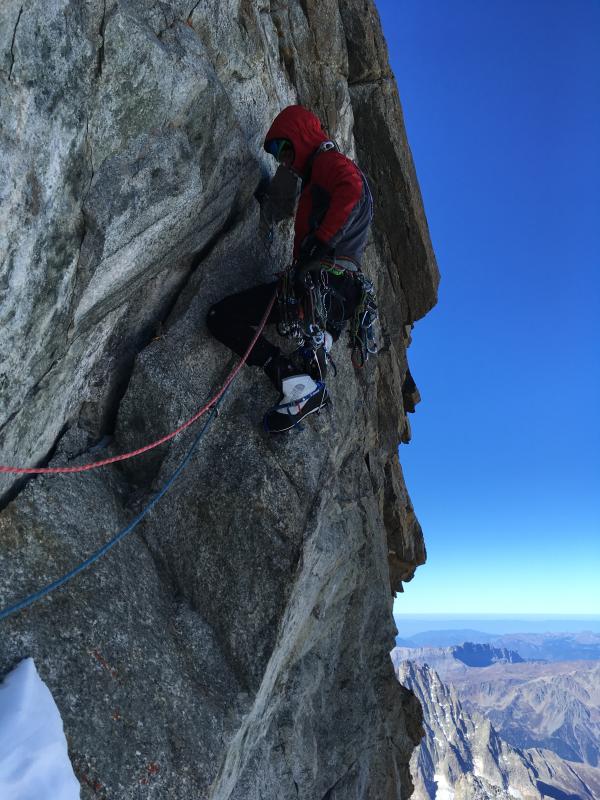
Hand traverse on the headwall crux pitch. Photo Tomasz Klimczak
After this pitch, you have 4-5 pitches of Exit Ramp (200m, M4, 75°).
Nice 1000 meter exposure :-). Photo Damian Granowski
It depends from the conditions. We have some “hard” climbing in not consolidate snow. On the last part go to corners from the right side. It should be the easiest way to the top.
Tomek on exit ramp. Photo Damian Granowski

Good morning Mont Blanc! Photo Damian Granowski
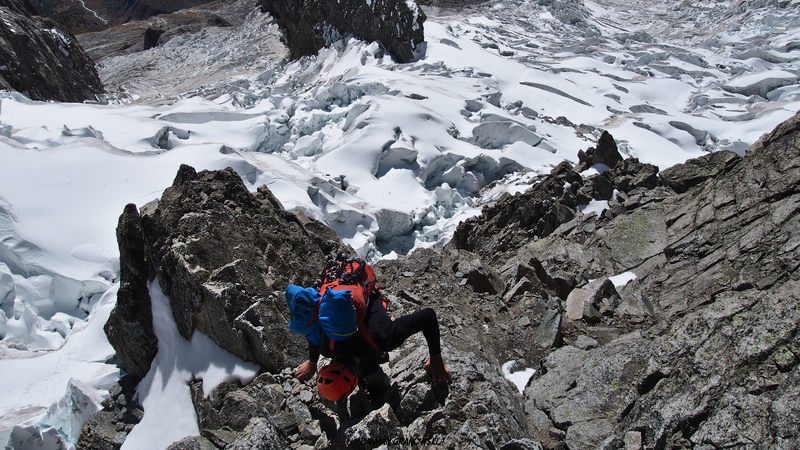
Descent (4-5 hours)
from the Grandes Jorasses is one of the hardest and complicated in Mont Blanc massif. Some sections are exposed to seracs, stone fall or avalanche… In the night or poor weather can be difficult to find the route. It's a good idea to have map, compass, and GPS with coordinates of crucial points.
The best way from Pte Walker is “normal” route. From the summit head down (slightly leftwards) to S rock ridge. The descent on the crest (rock&ice) to glacial plateau. Traverse west across the glacier (be quick! Above you are a line of seracs) to get to the Rochers Whymper (base of S spur of Pte Whymper).
You will find here some Rappels (in good conditions you can descent without them) which lead you to Gl. des Grandes Jorasses.
Traverse this glacier to the west to the top of Rocher du Reposoir. Go down the crest of this ridge (poor rocks). After few hundred meters go to left side of the crest. Last part you can climb down or use two 30 m abseils.
Descent on Rocher du Reposoir. Photo Damian Granowski
We use abseils and after that don’t go down (hard slabs and bergschrund), but traverse to the west to easier part of the glacier.
Head down on the glacier (but take the left side of Glacier de Planpincieux. Near of Rognon de la Bouteille). Move off the glacier onto a rocky plateau. Continue down rocky rib to Boccalatte hut (fixed ropes). The hut cannot be seen until the last minute.
From Boccalatte hut go down by patch to village Planpincieux (2-3 hours).
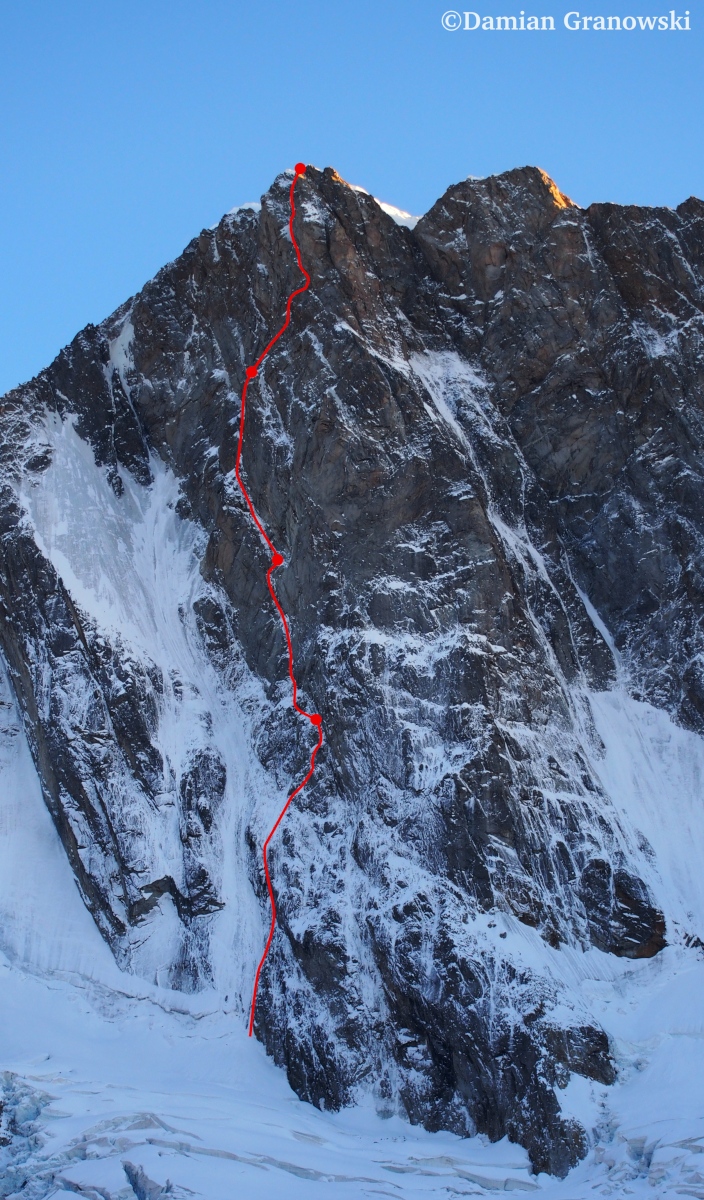
Desmaison 11-14 October 2017, Damian Granowski and Tomasz Klimczak. 3 bivvy at the wall and one of the peak of Grande Jorasses. 1200 m, M6+, WI4, A1.
Movie from this trip:
and another